
DIY No Sew Custom Fringe Denim Jacket
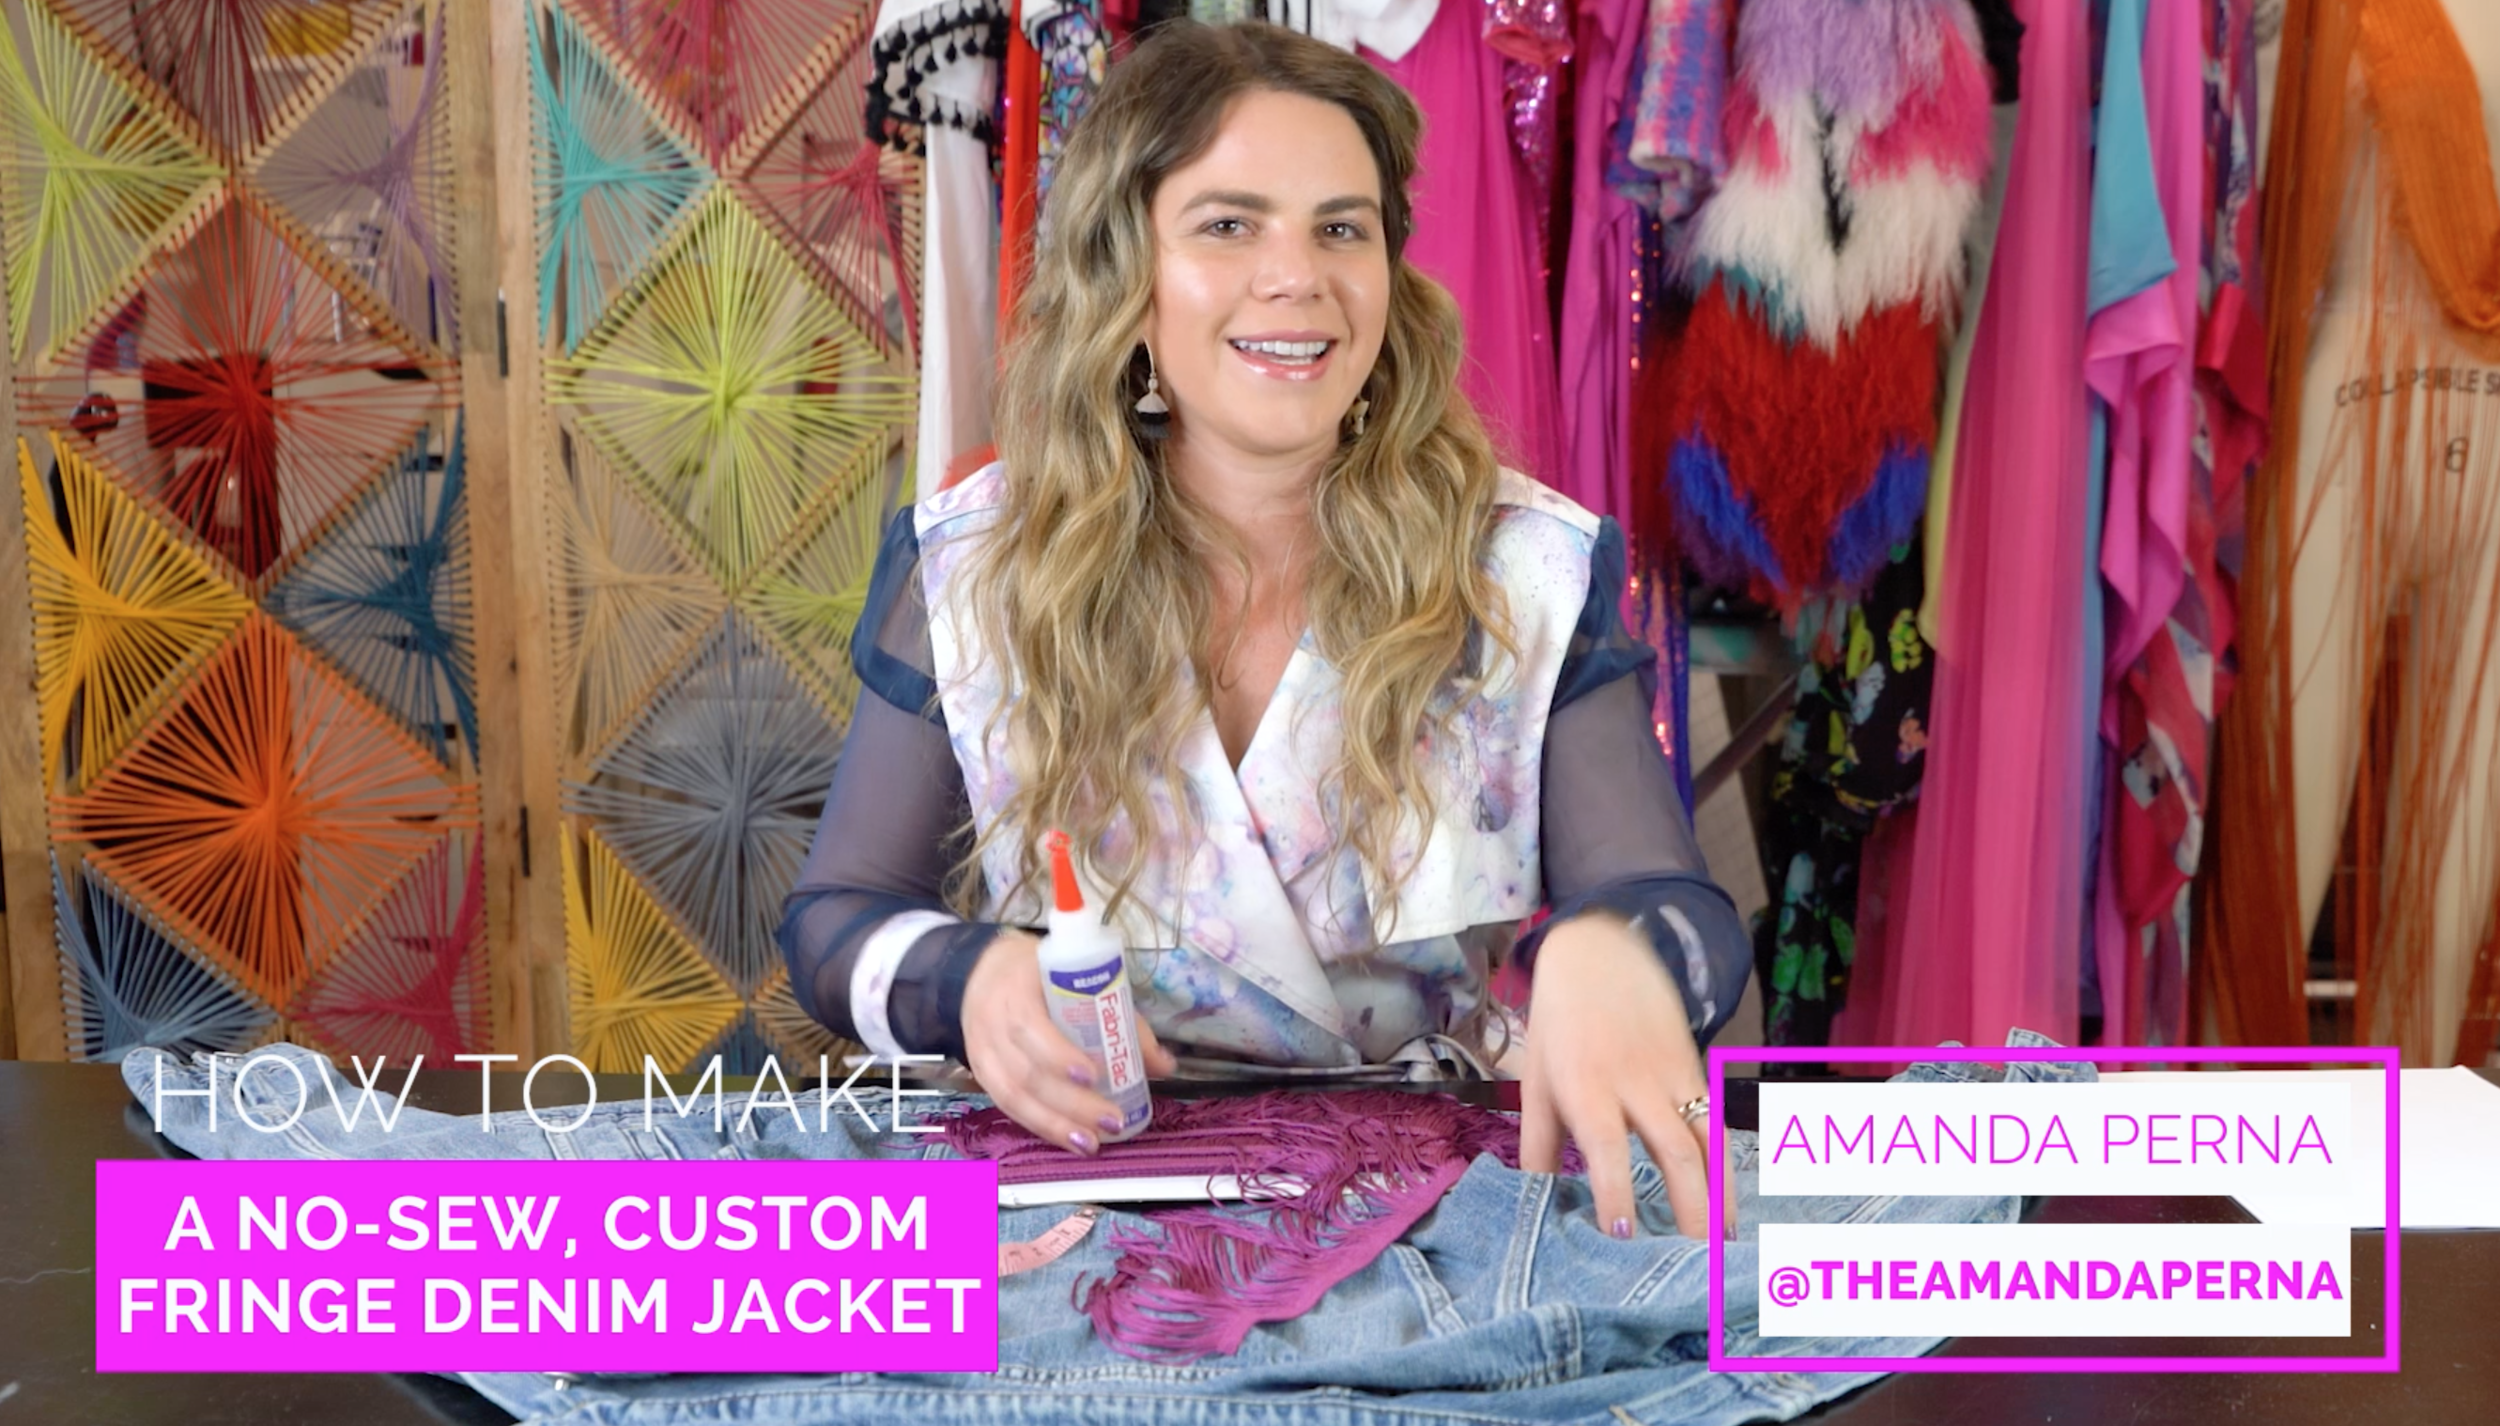
Is there ANYTHING more exciting than fringe?! I love it and I think it’s really under utilized. This is a super easy way to fringe up your favorite denim jacket in a flash!
Supplies:
Denim Jacket - this does not have to be a new jacket! Refresh your fave standby jacket or even a chambray shirt that you throw on over everything!
Fringe - pick your favorite color or a color to go with that something special in your closet you’ve been wanting to wear! I used a 3 inch fringe here to get lots of movement, but you could go a little shorter or longer!
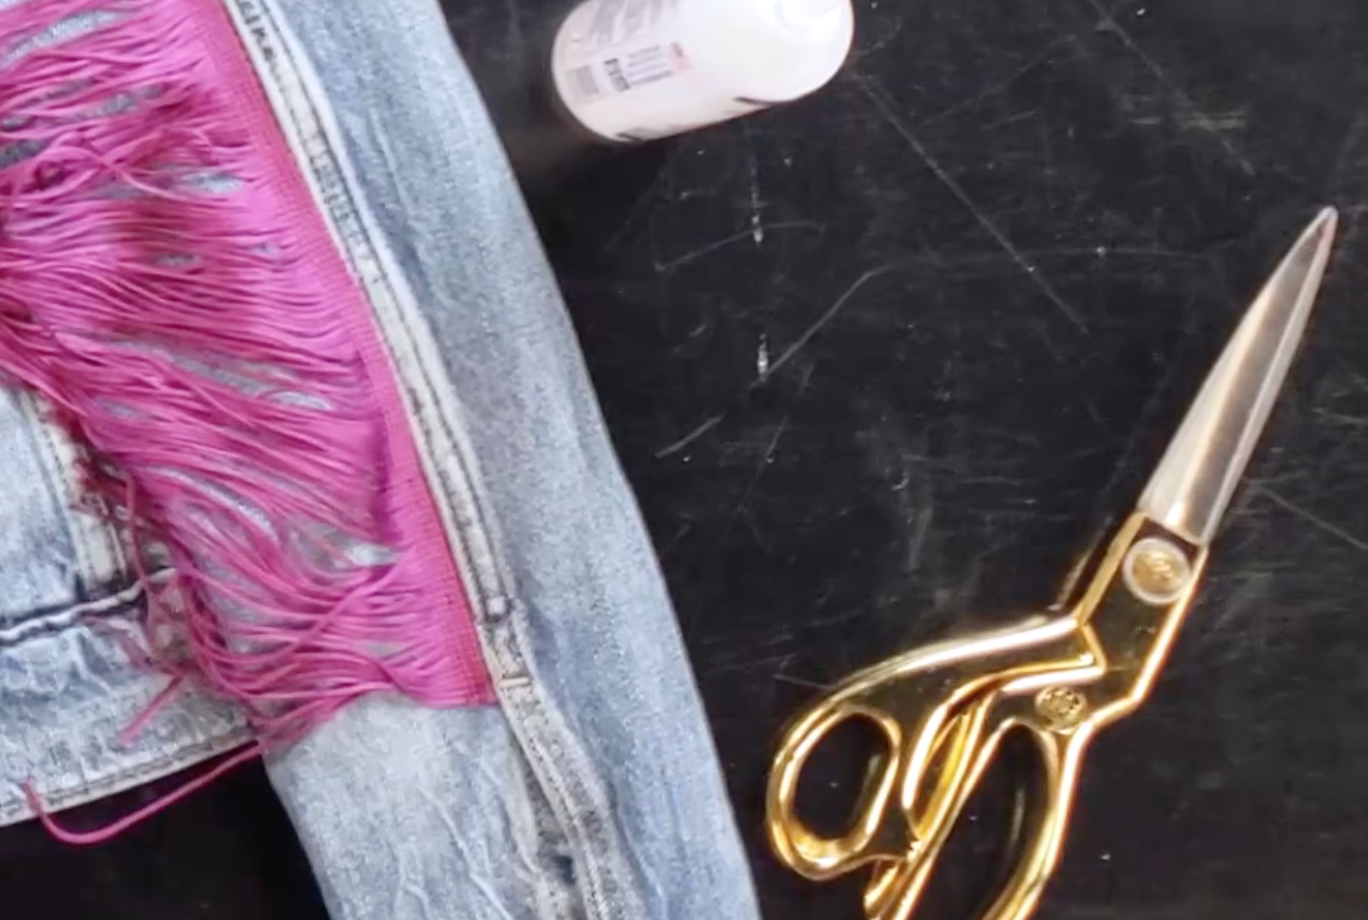
Beacon Fabri-Tac Glue - This is my go-to glue for fabric! It is easy to apply, dries clear in 24 hours and holds like a champ!
Good scissors - Keep your fabric scissors nice and sharp!
Measuring Tape - A fabric measuring tape is best, but you could use a ruler as well!
Paper - This can be scrap paper, newspaper or even a few paper towels layered together.
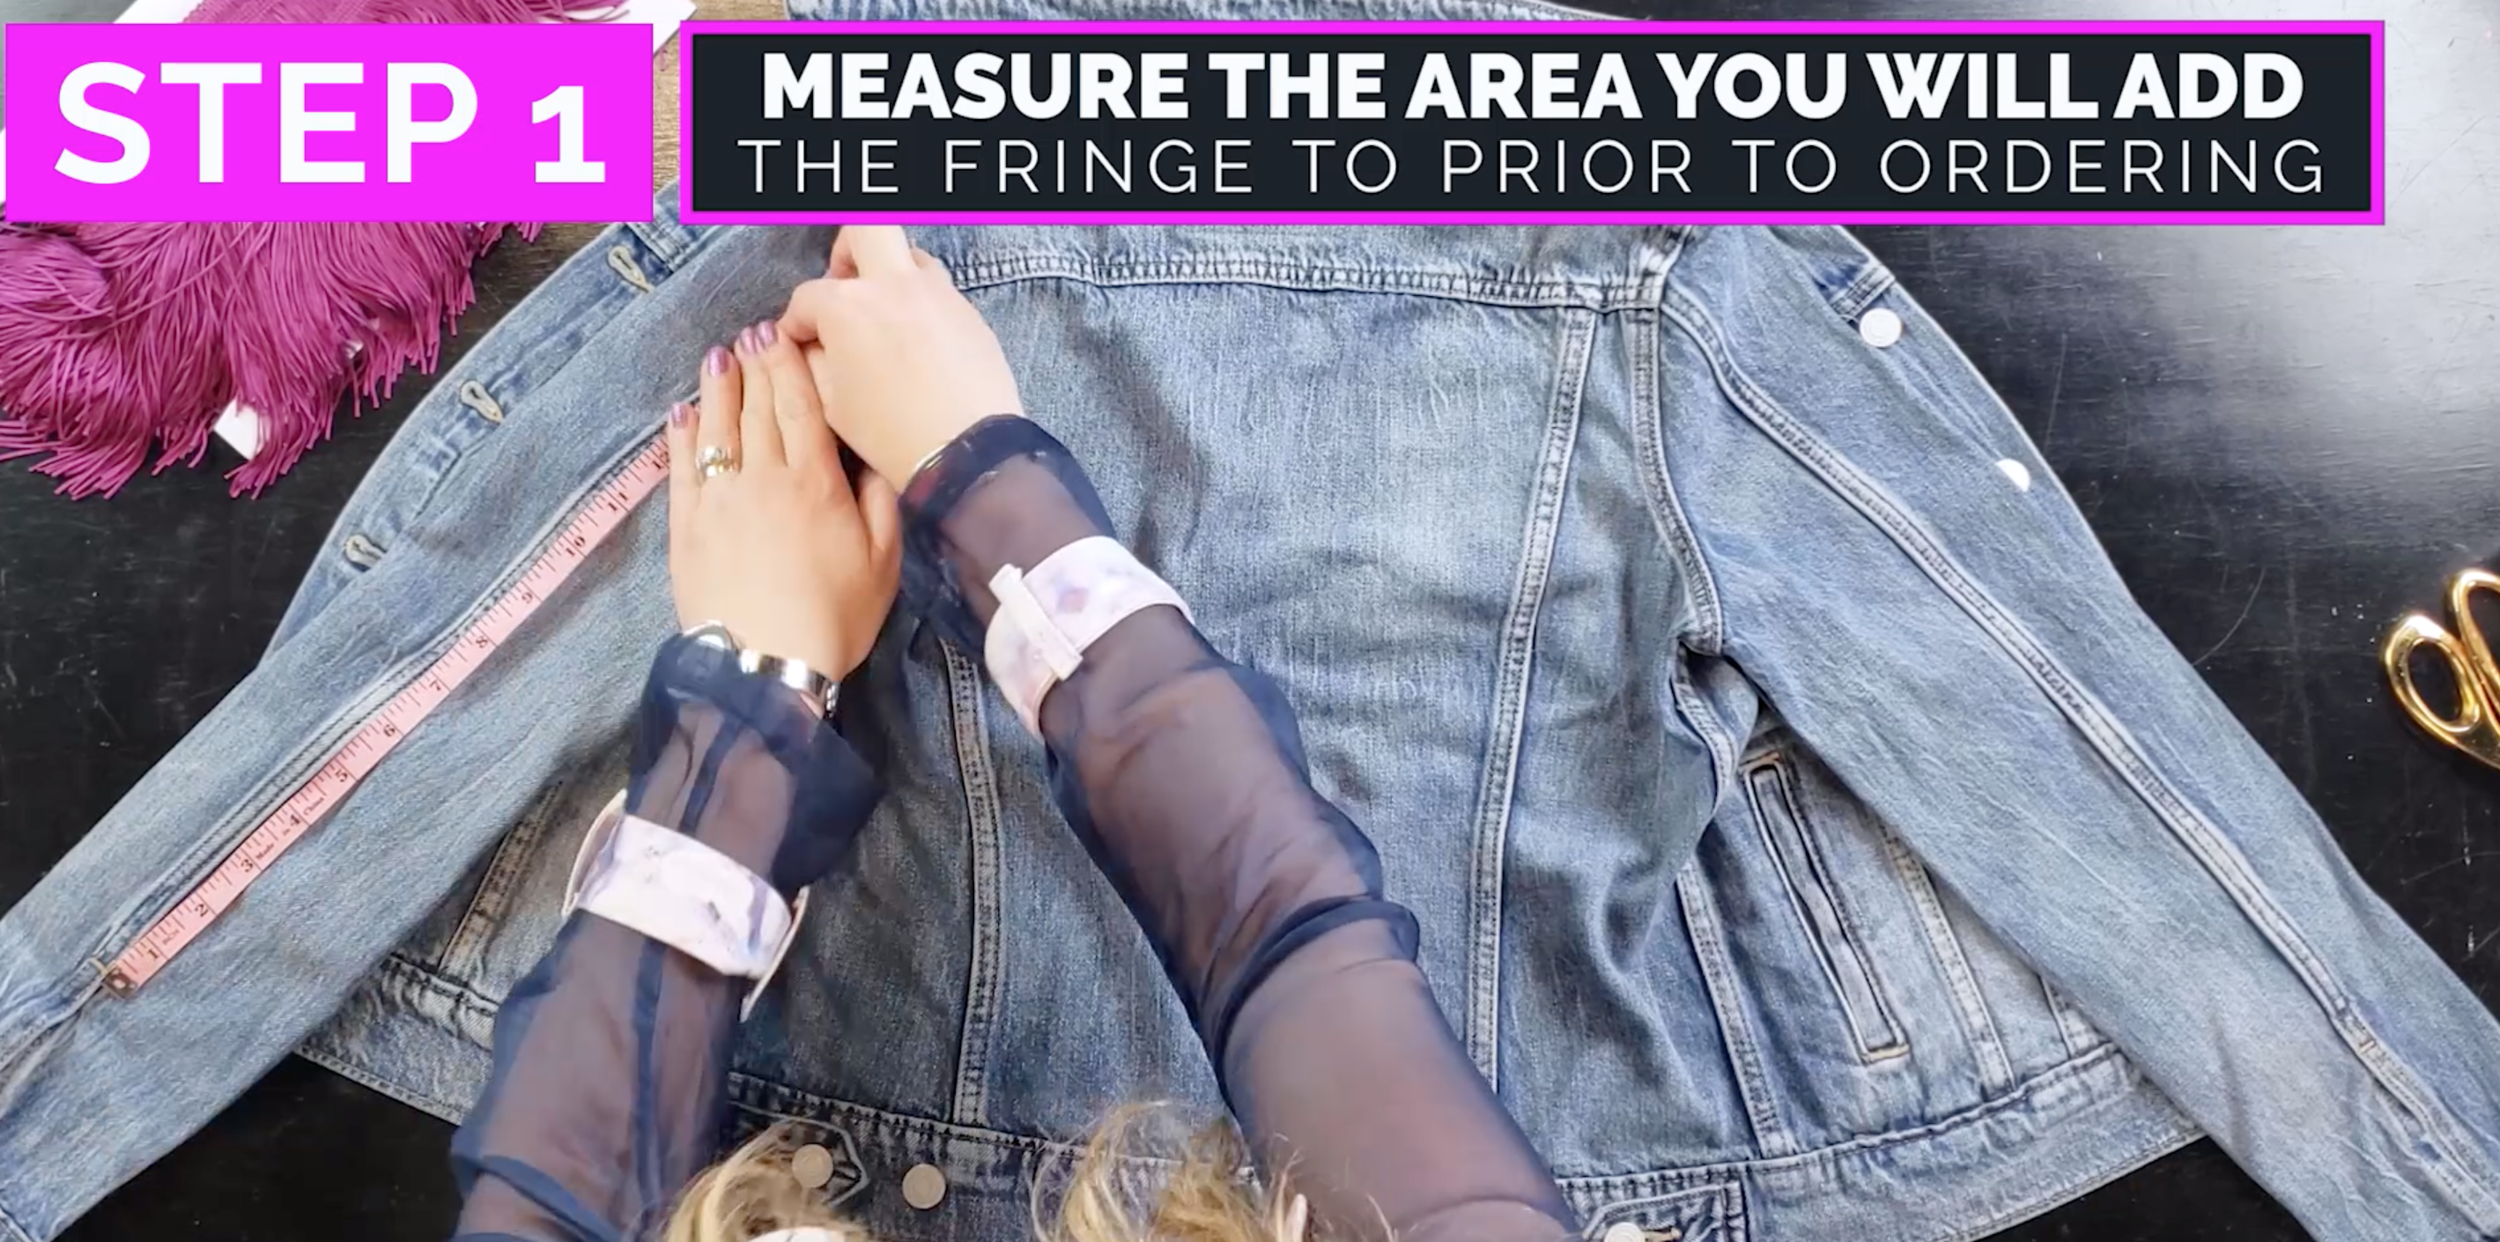
Step 1:
Make sure you measure the area you want to add fringe to before you buy your fringe. There is nothing worse than not having enough fringe!
I took mine up the sleeves and across the back.
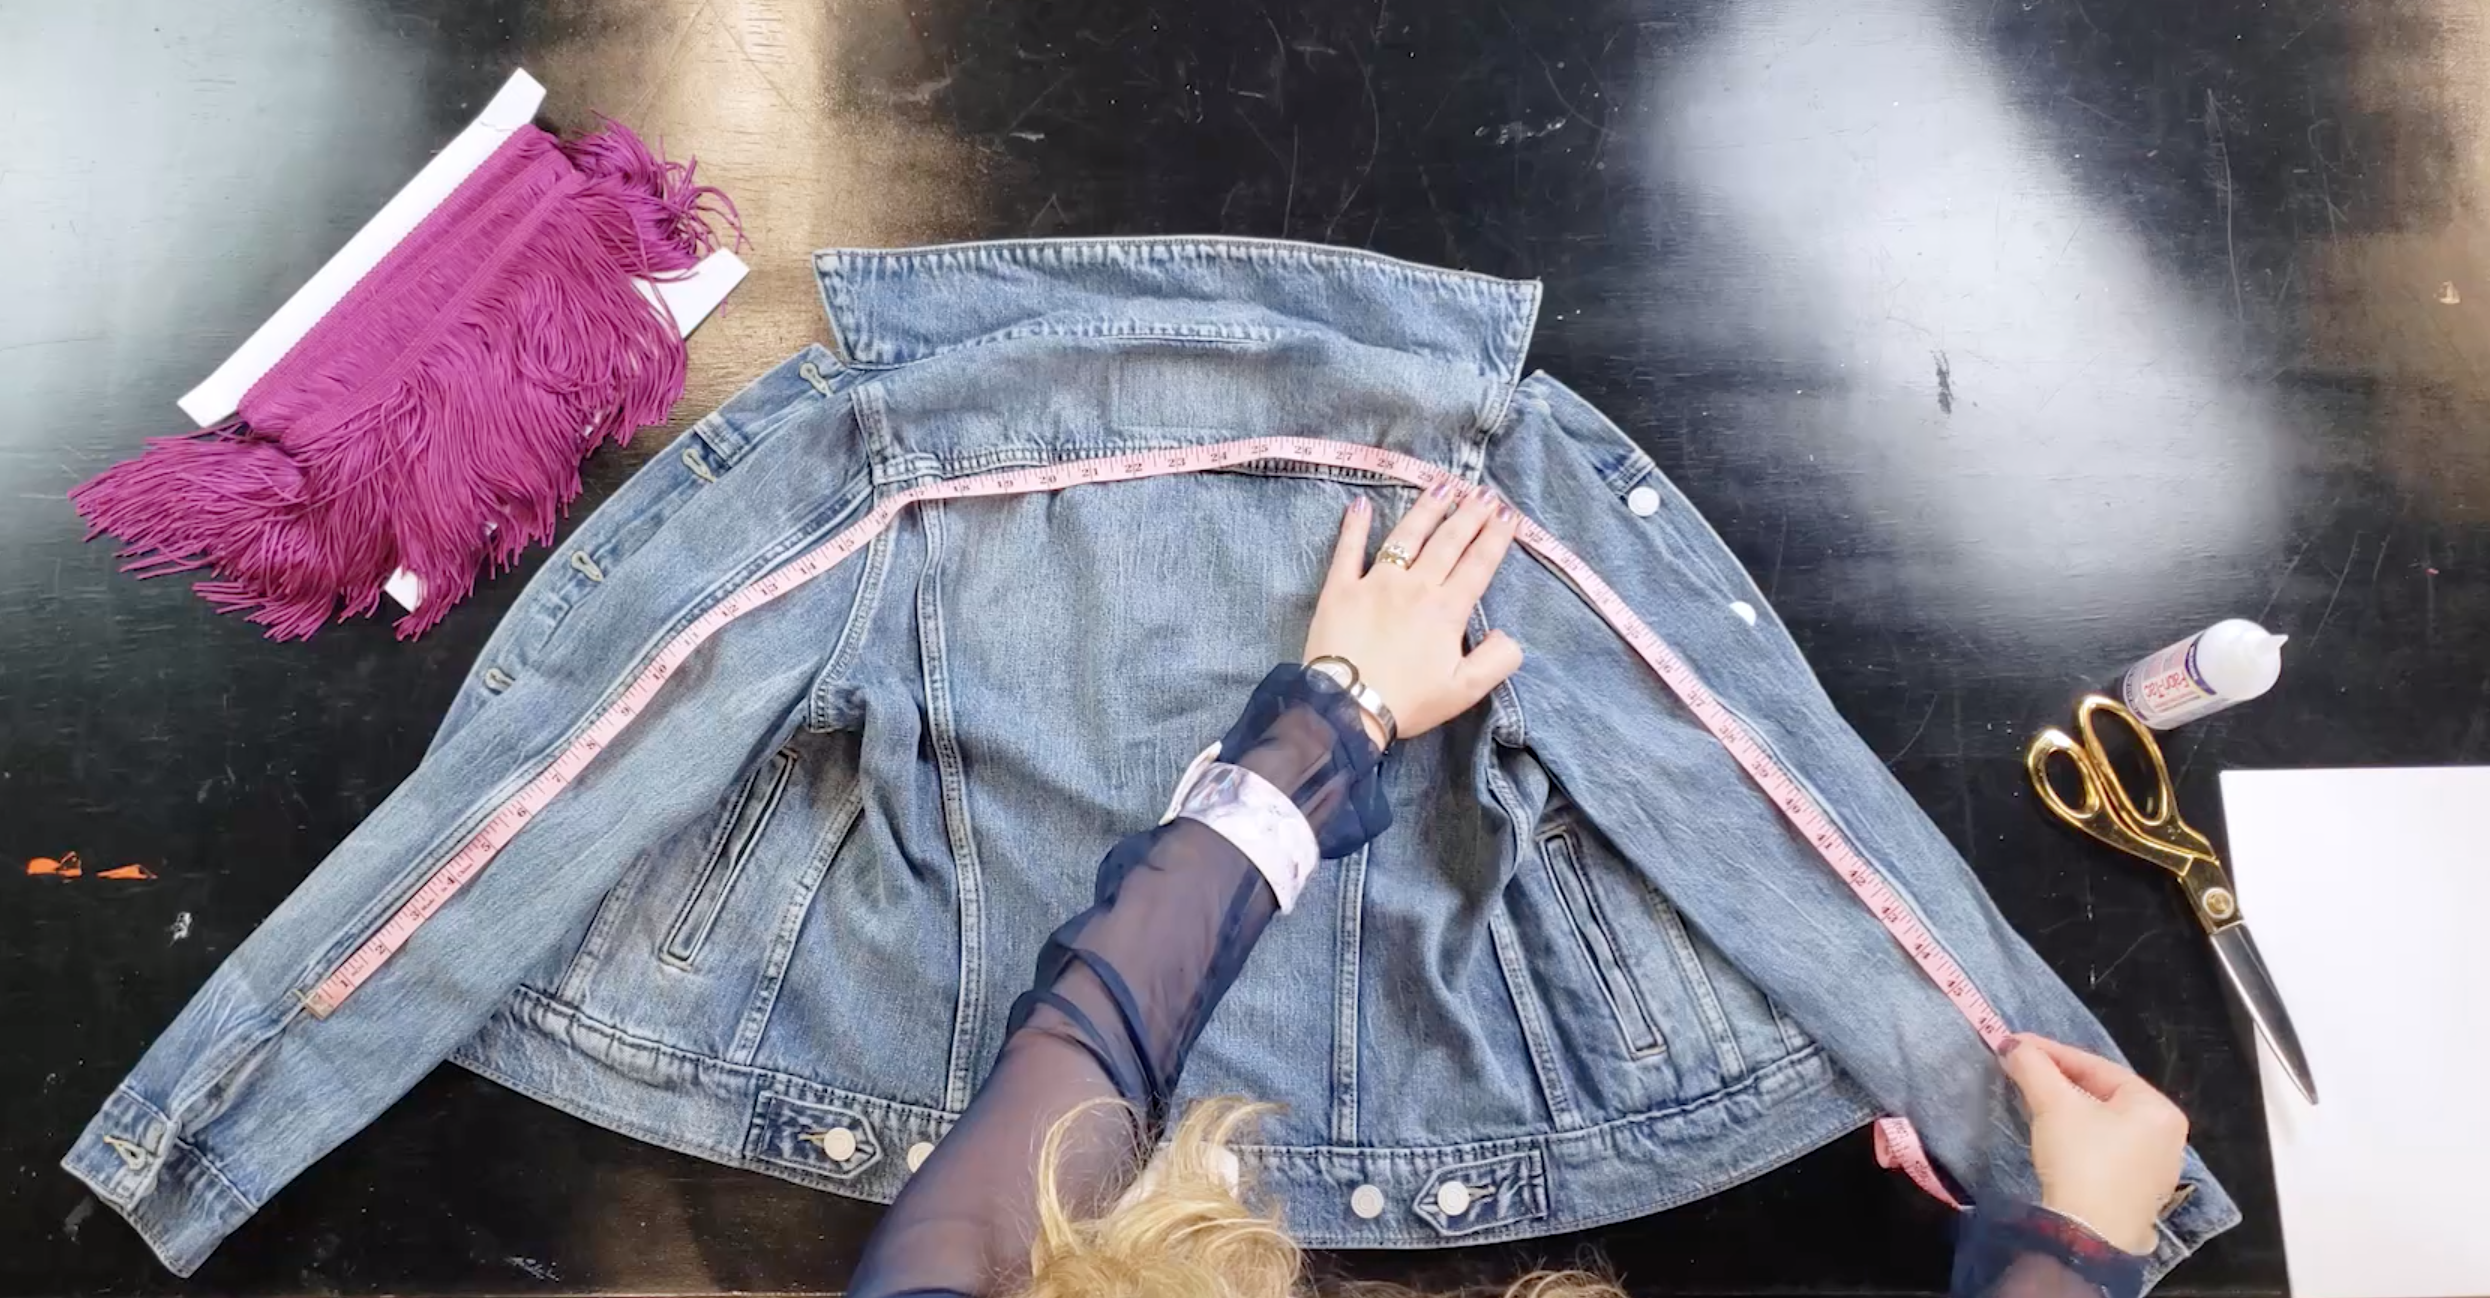
Measure from the end of one sleeve, across the back and down the other sleeve.
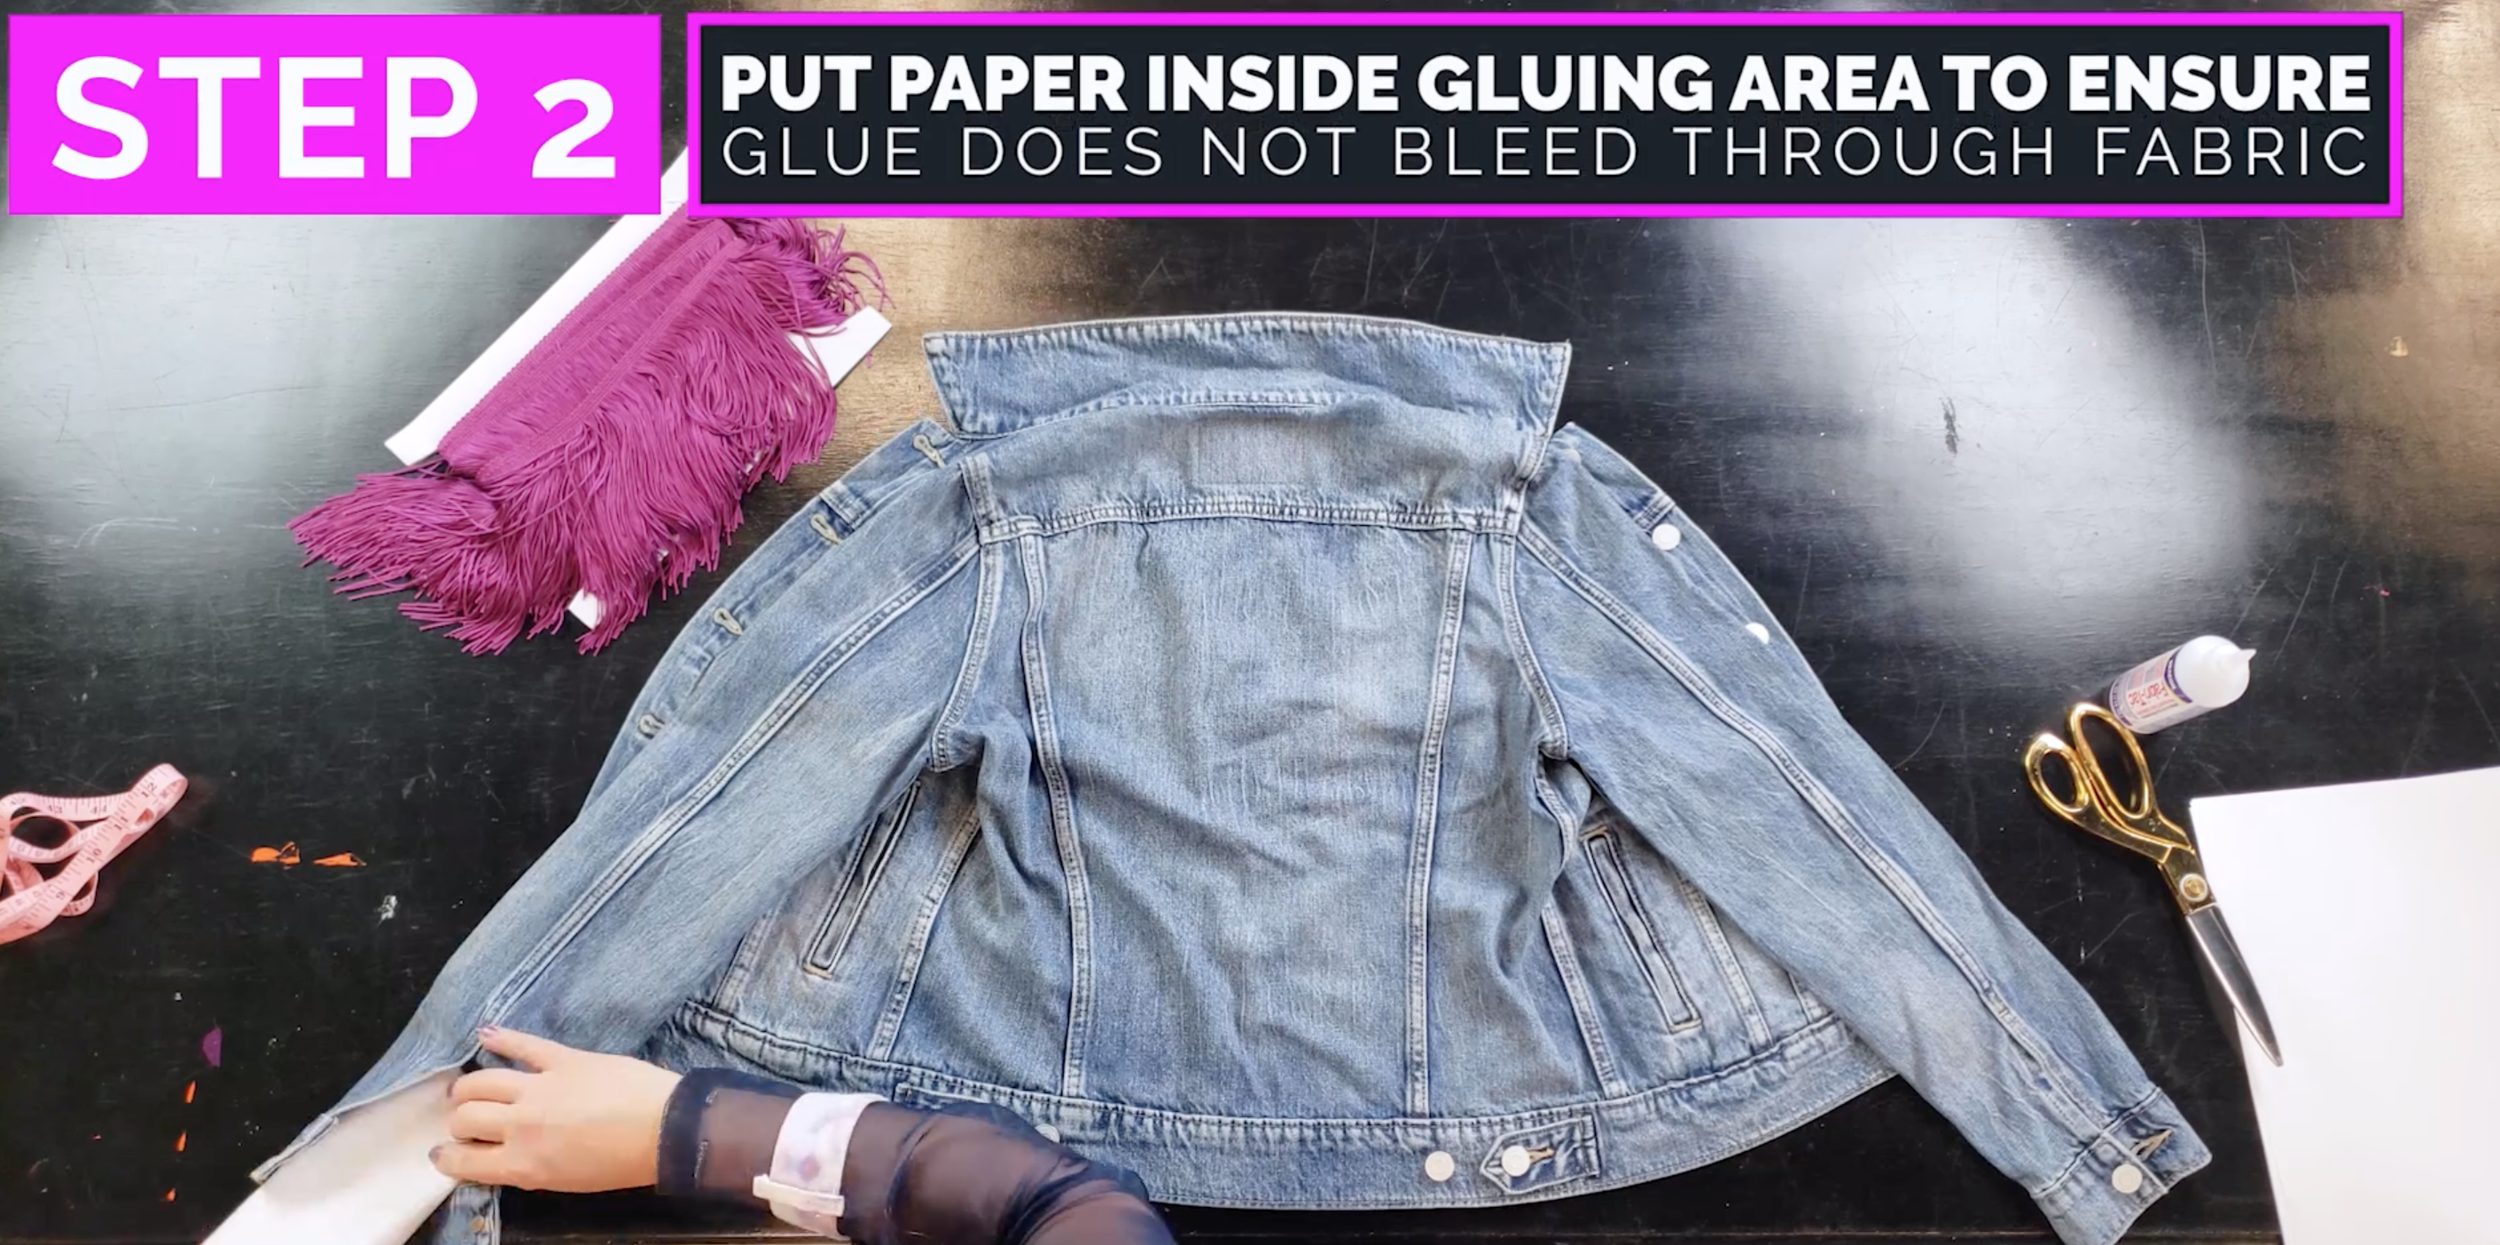
Step 2:
Put paper into the sleeves and under the back (wherever you are gluing) to make sure the glue does not bleed through the fabric. It always pays to be safe!
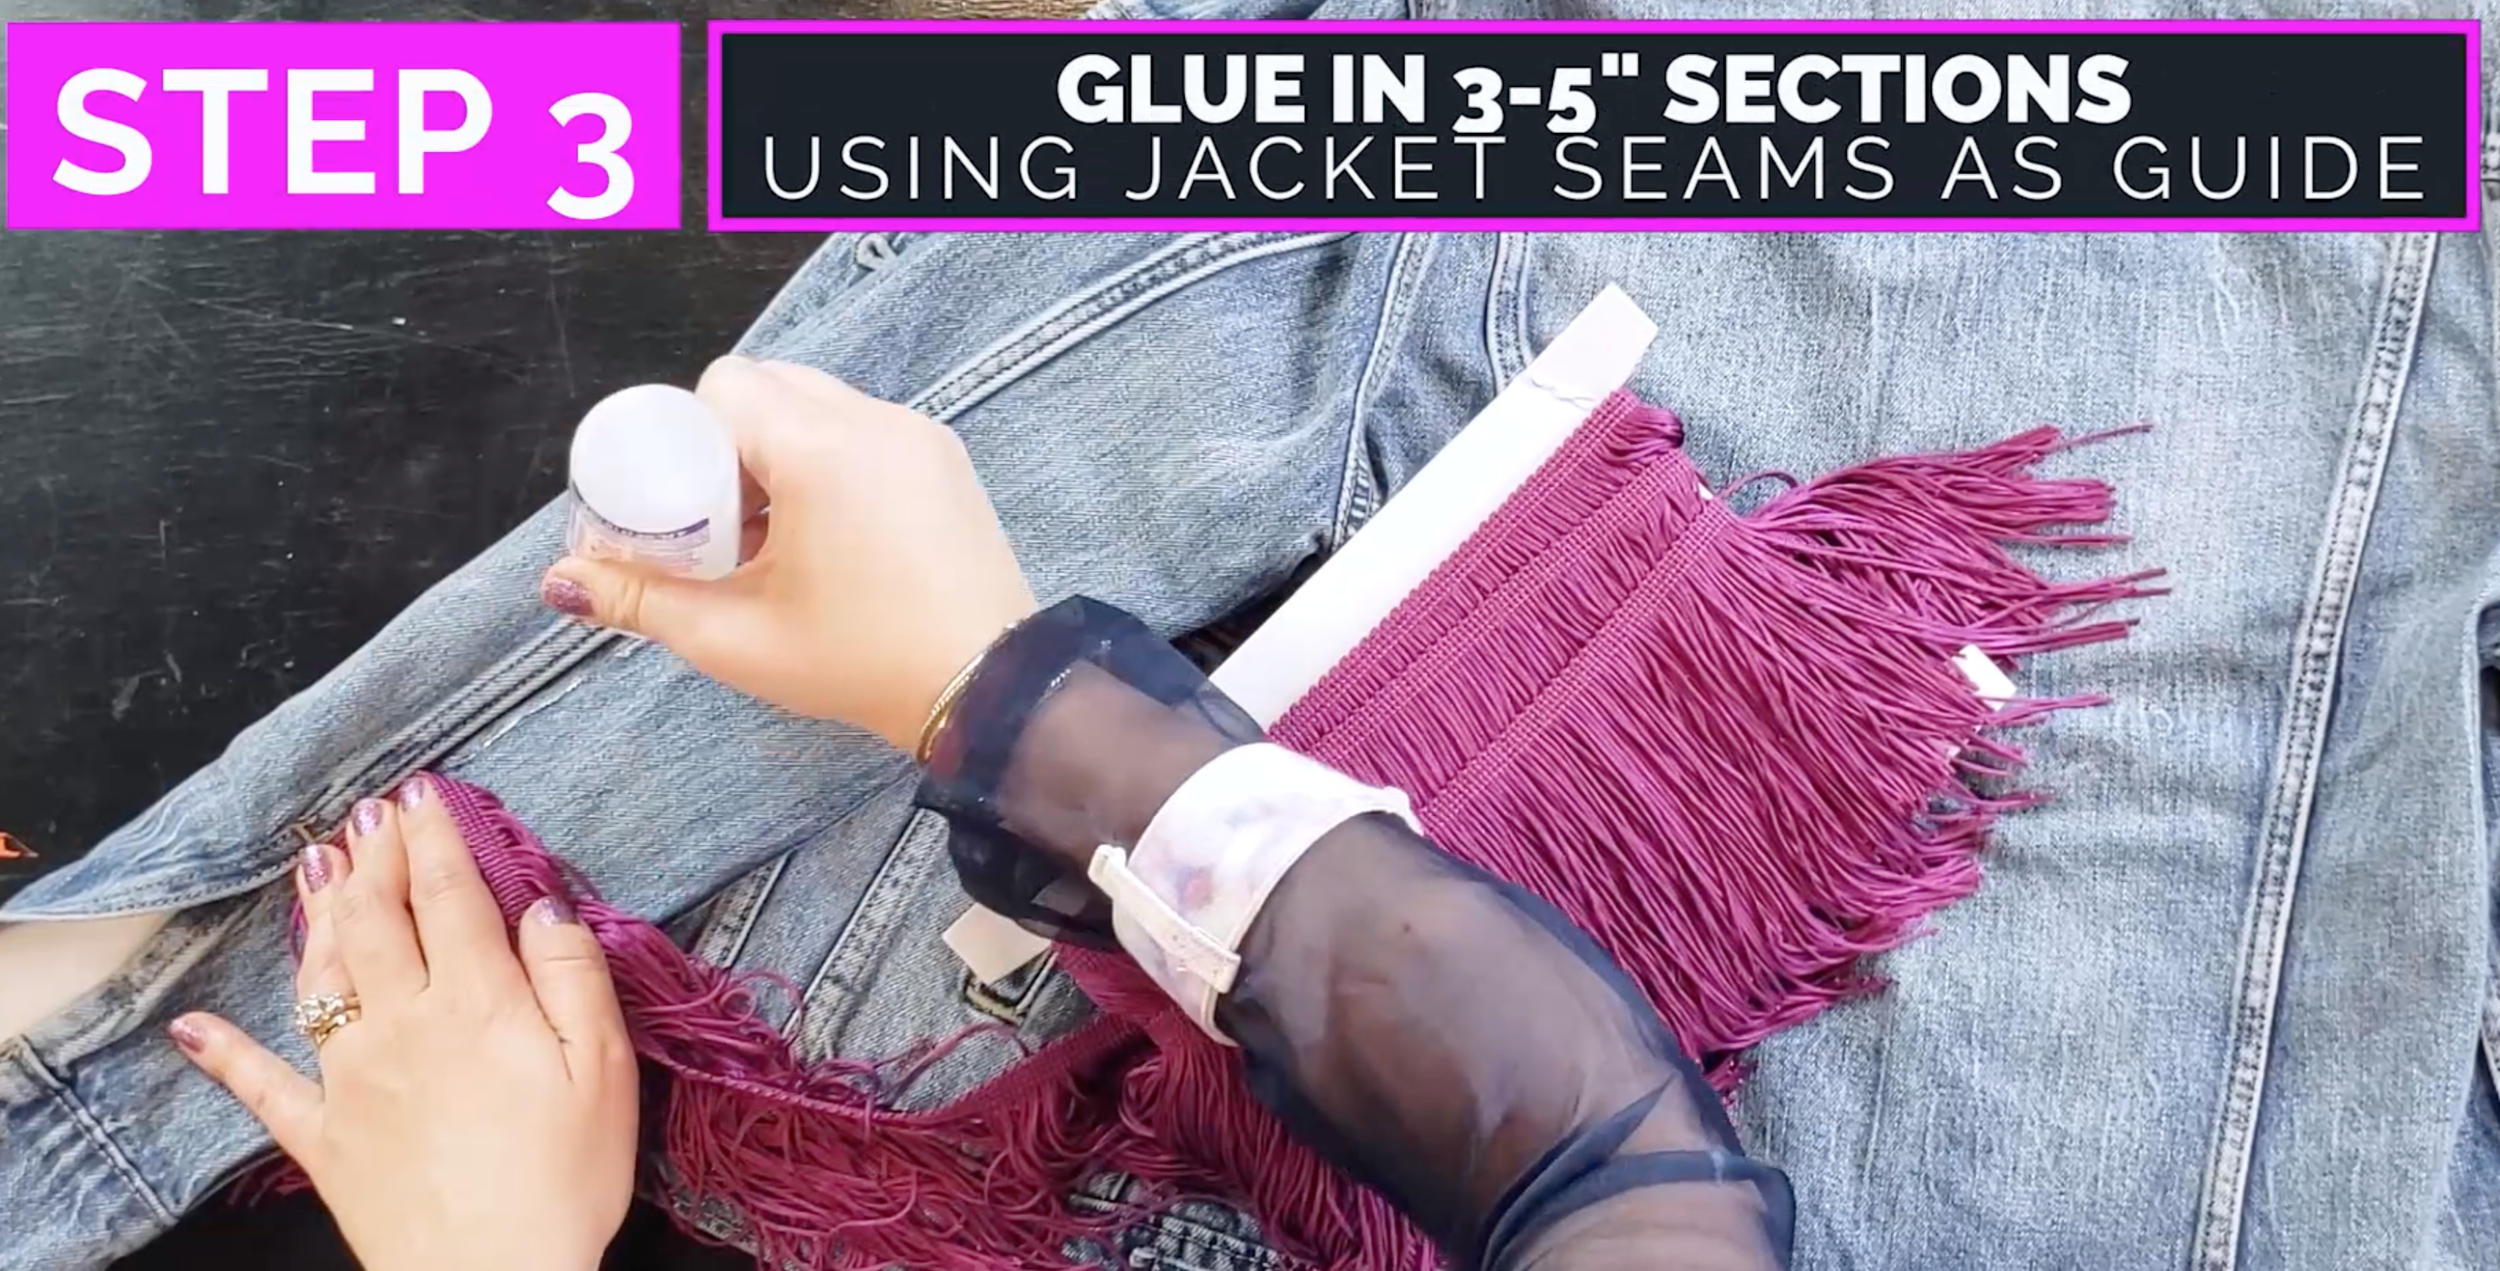
Step 3:
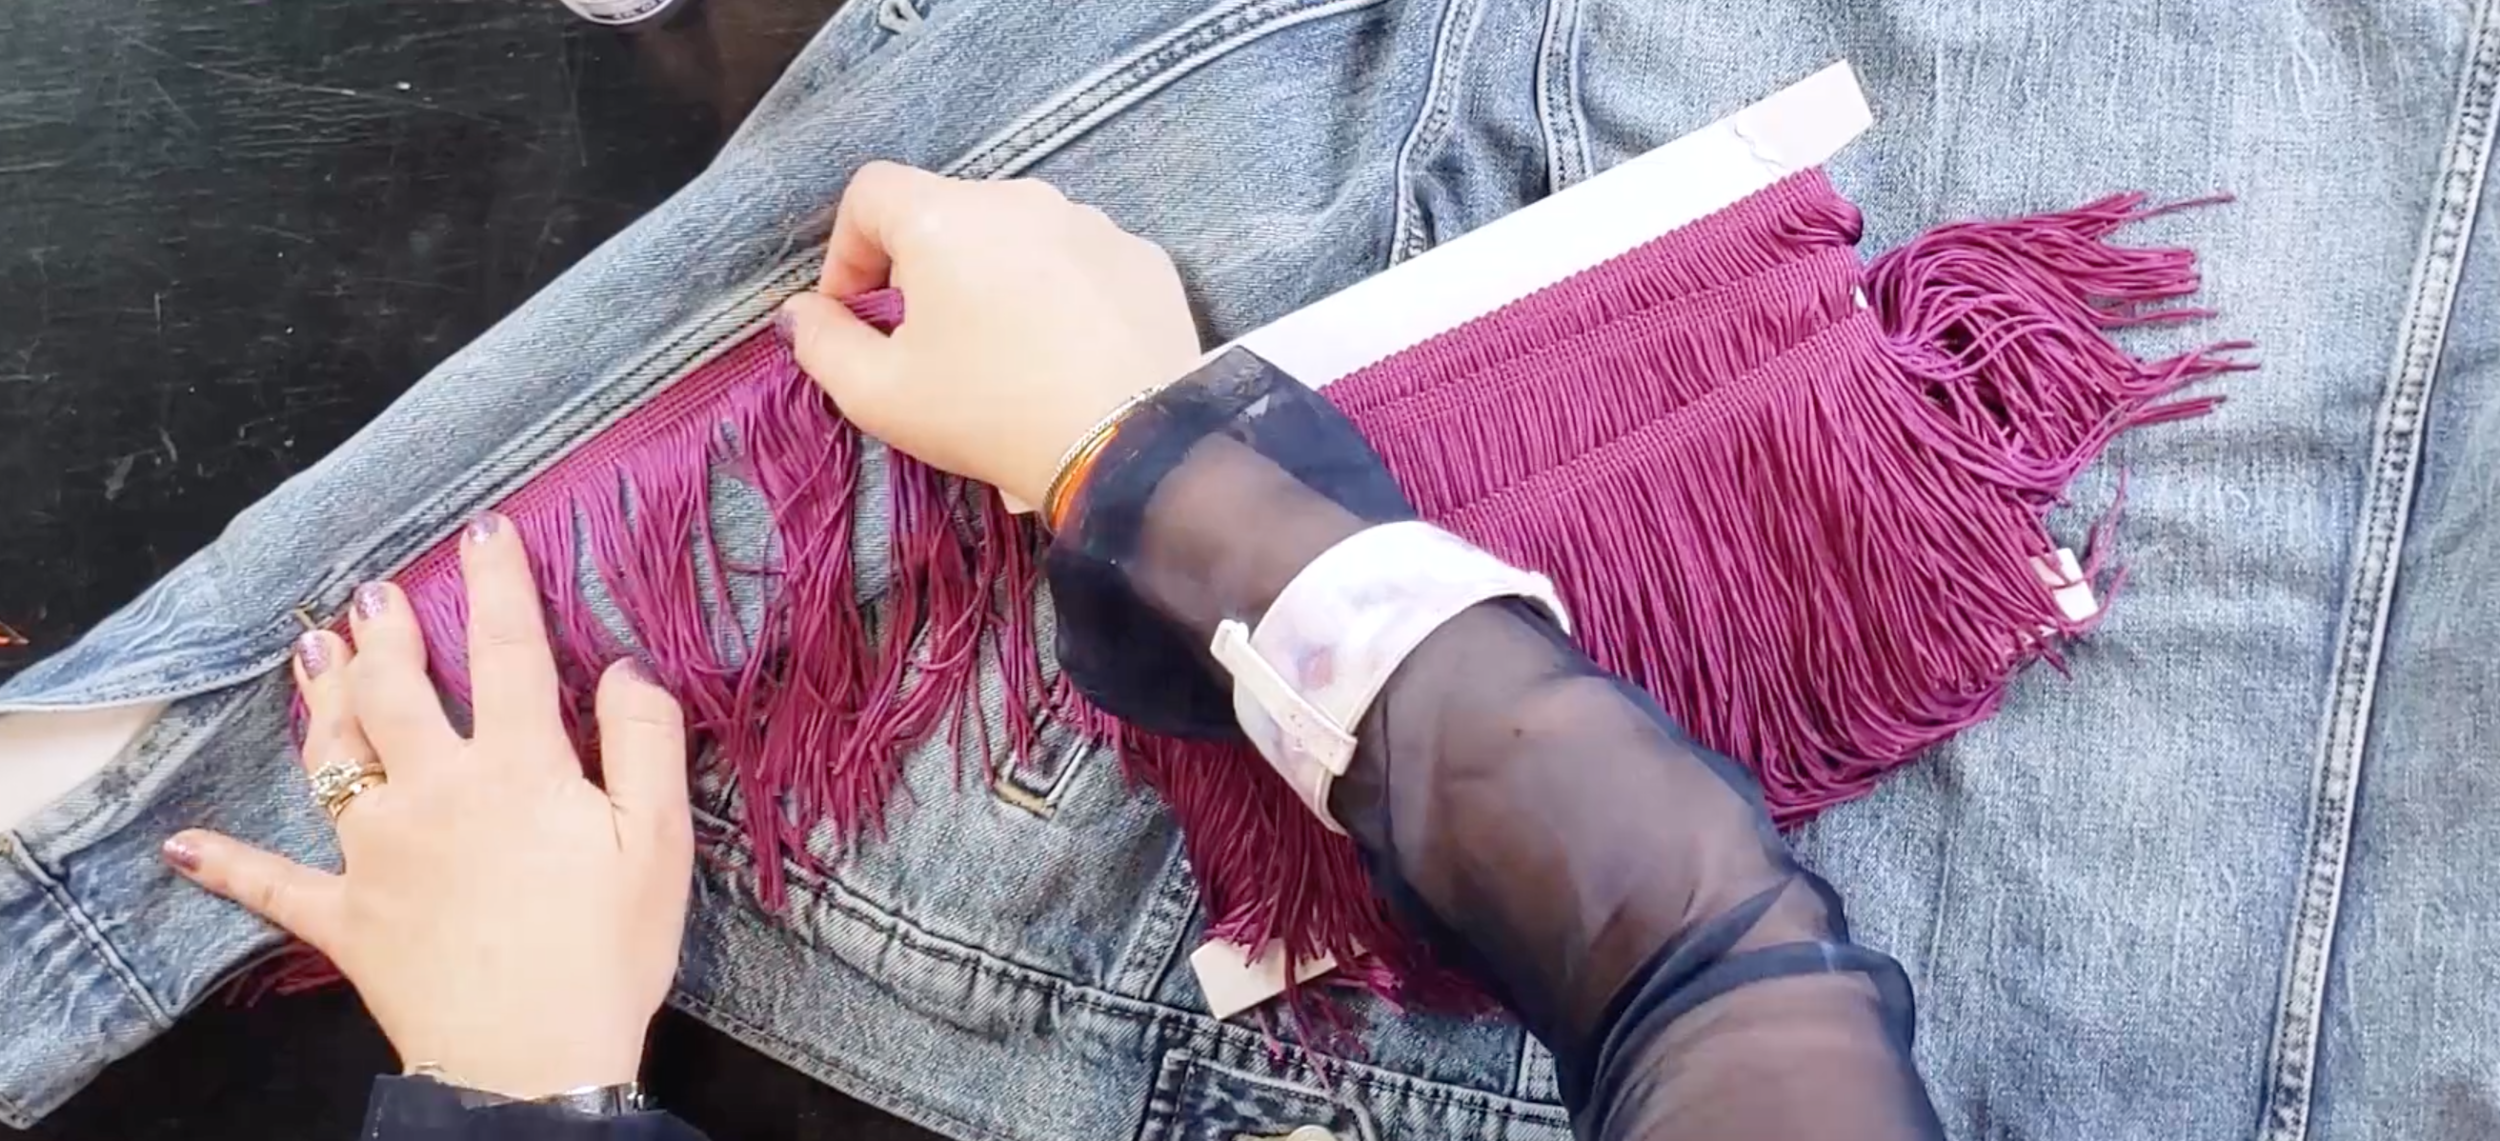
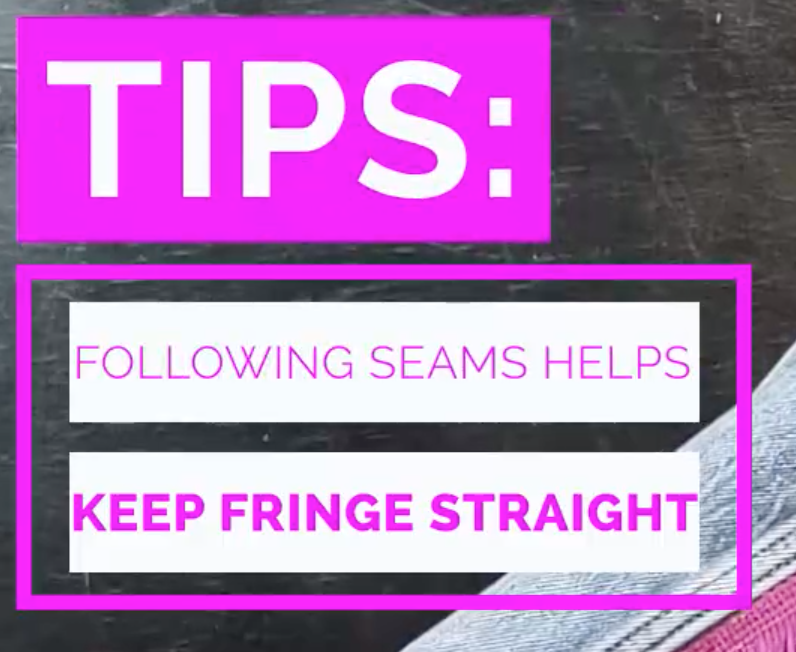
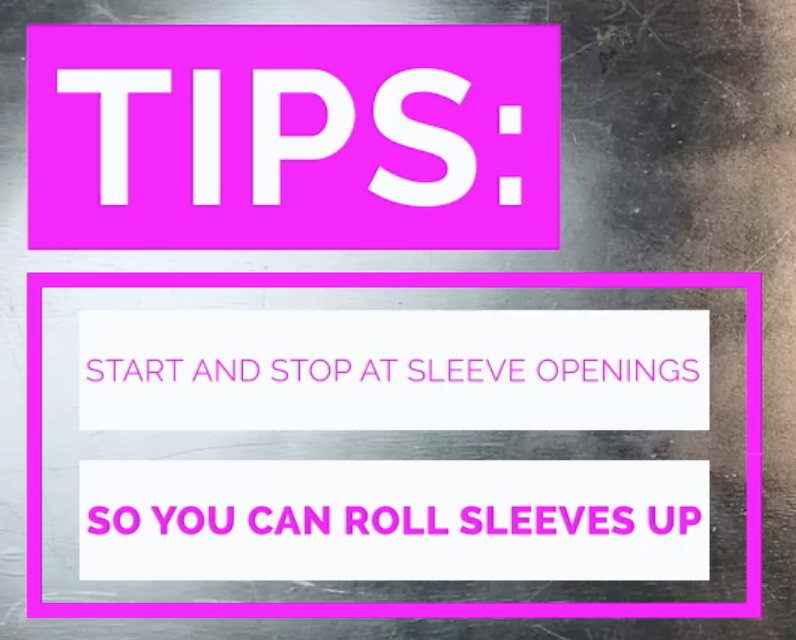
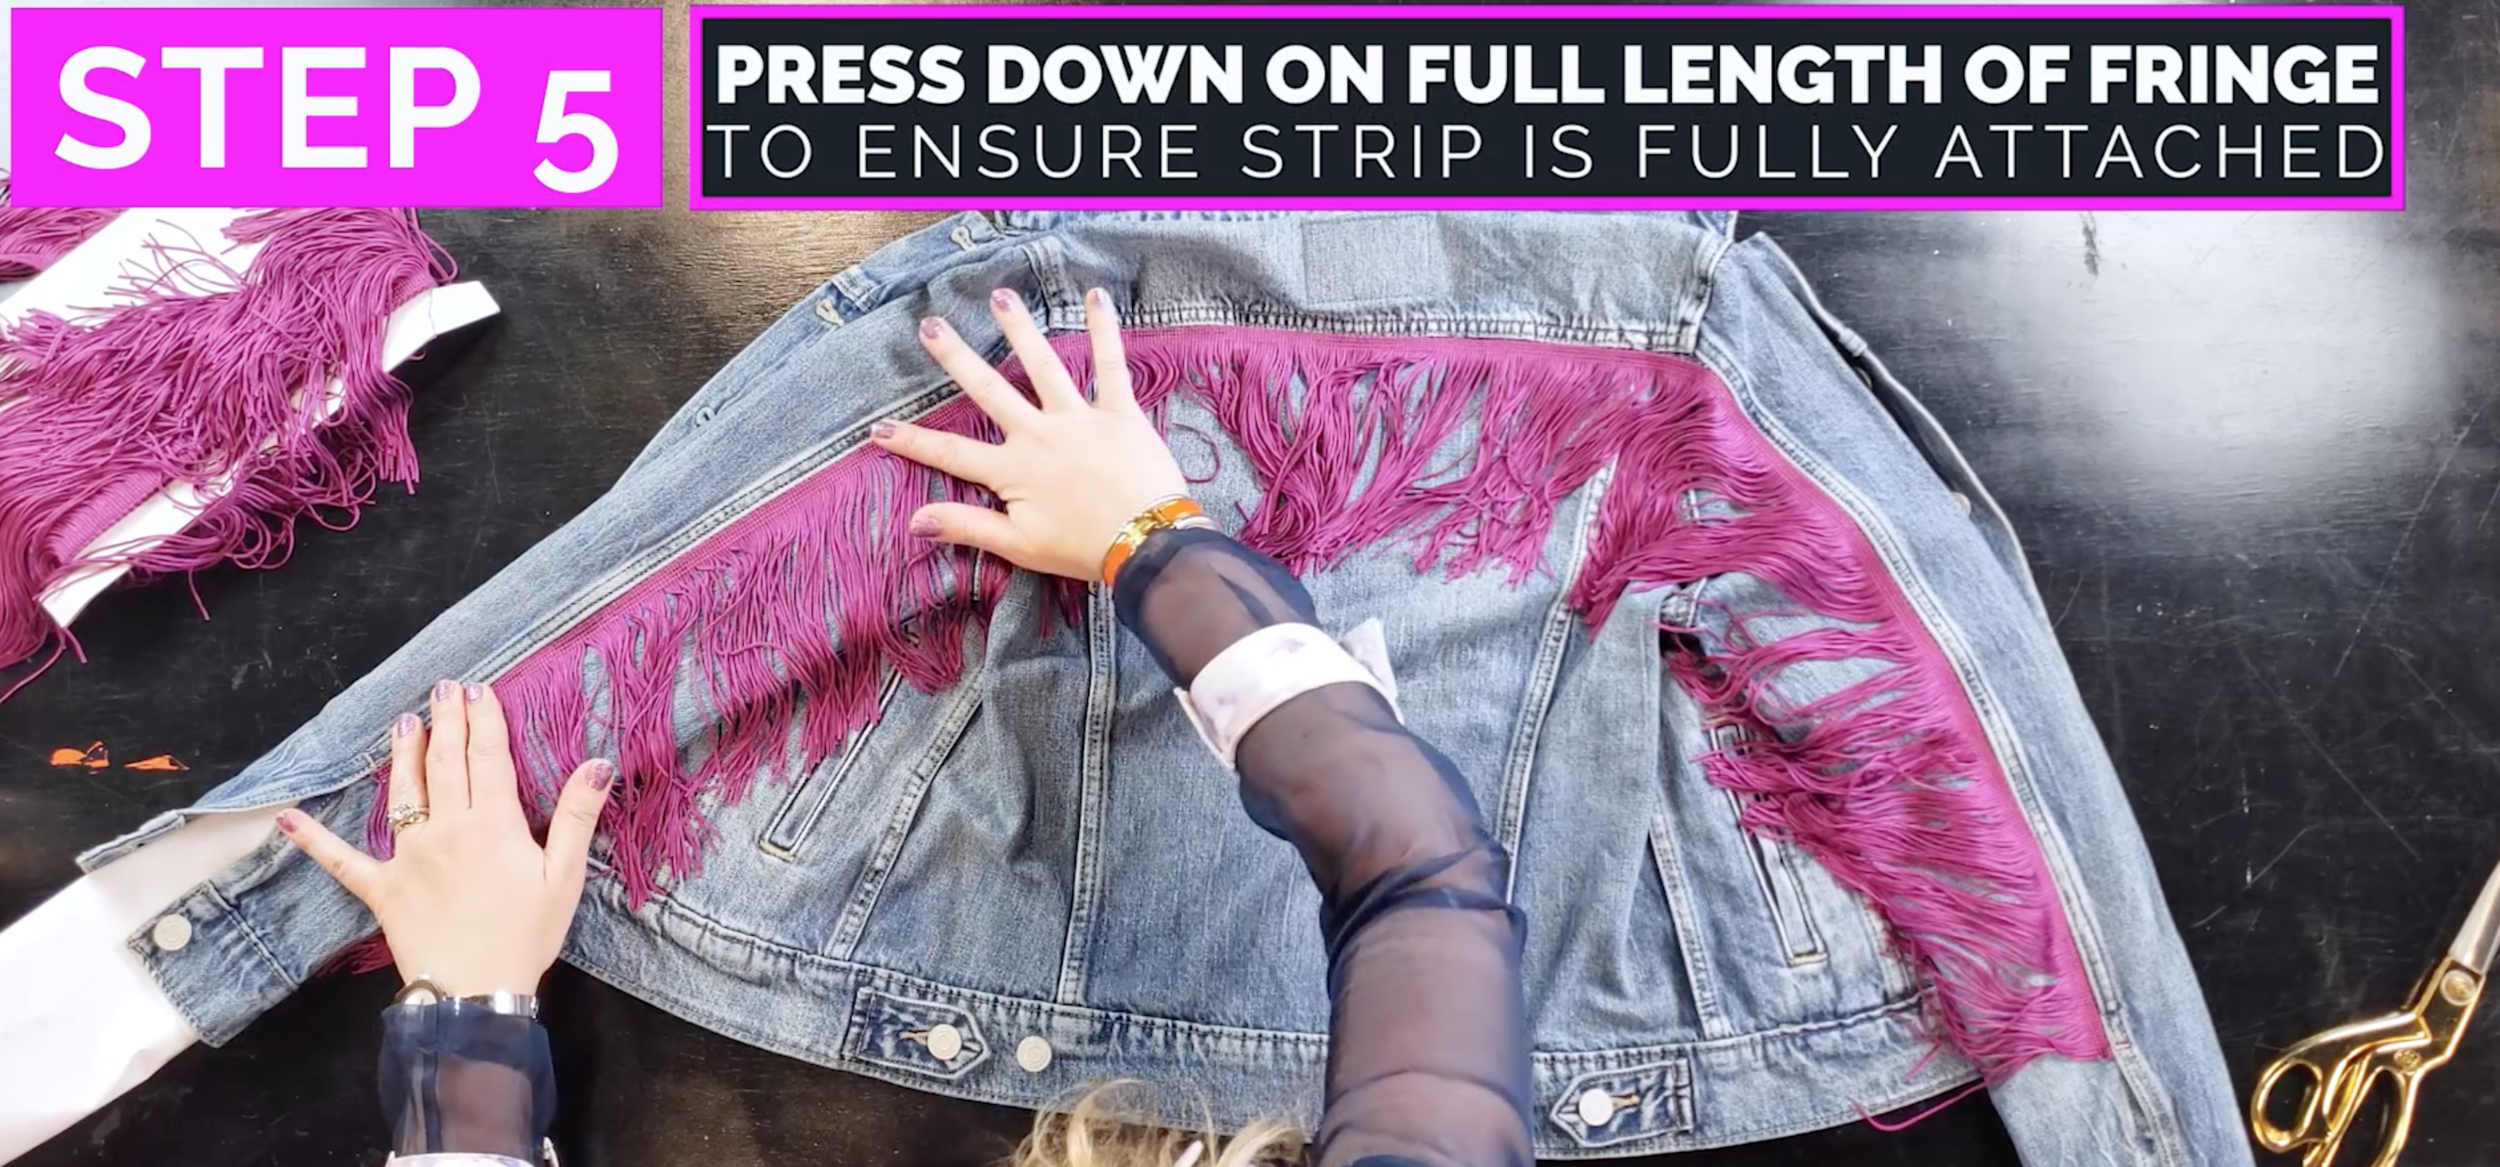
Start at the sleeve opening and working in 3” to 5” sections, start gluing down the fringe. Use the seams as a guide to get perfectly sharp lines!
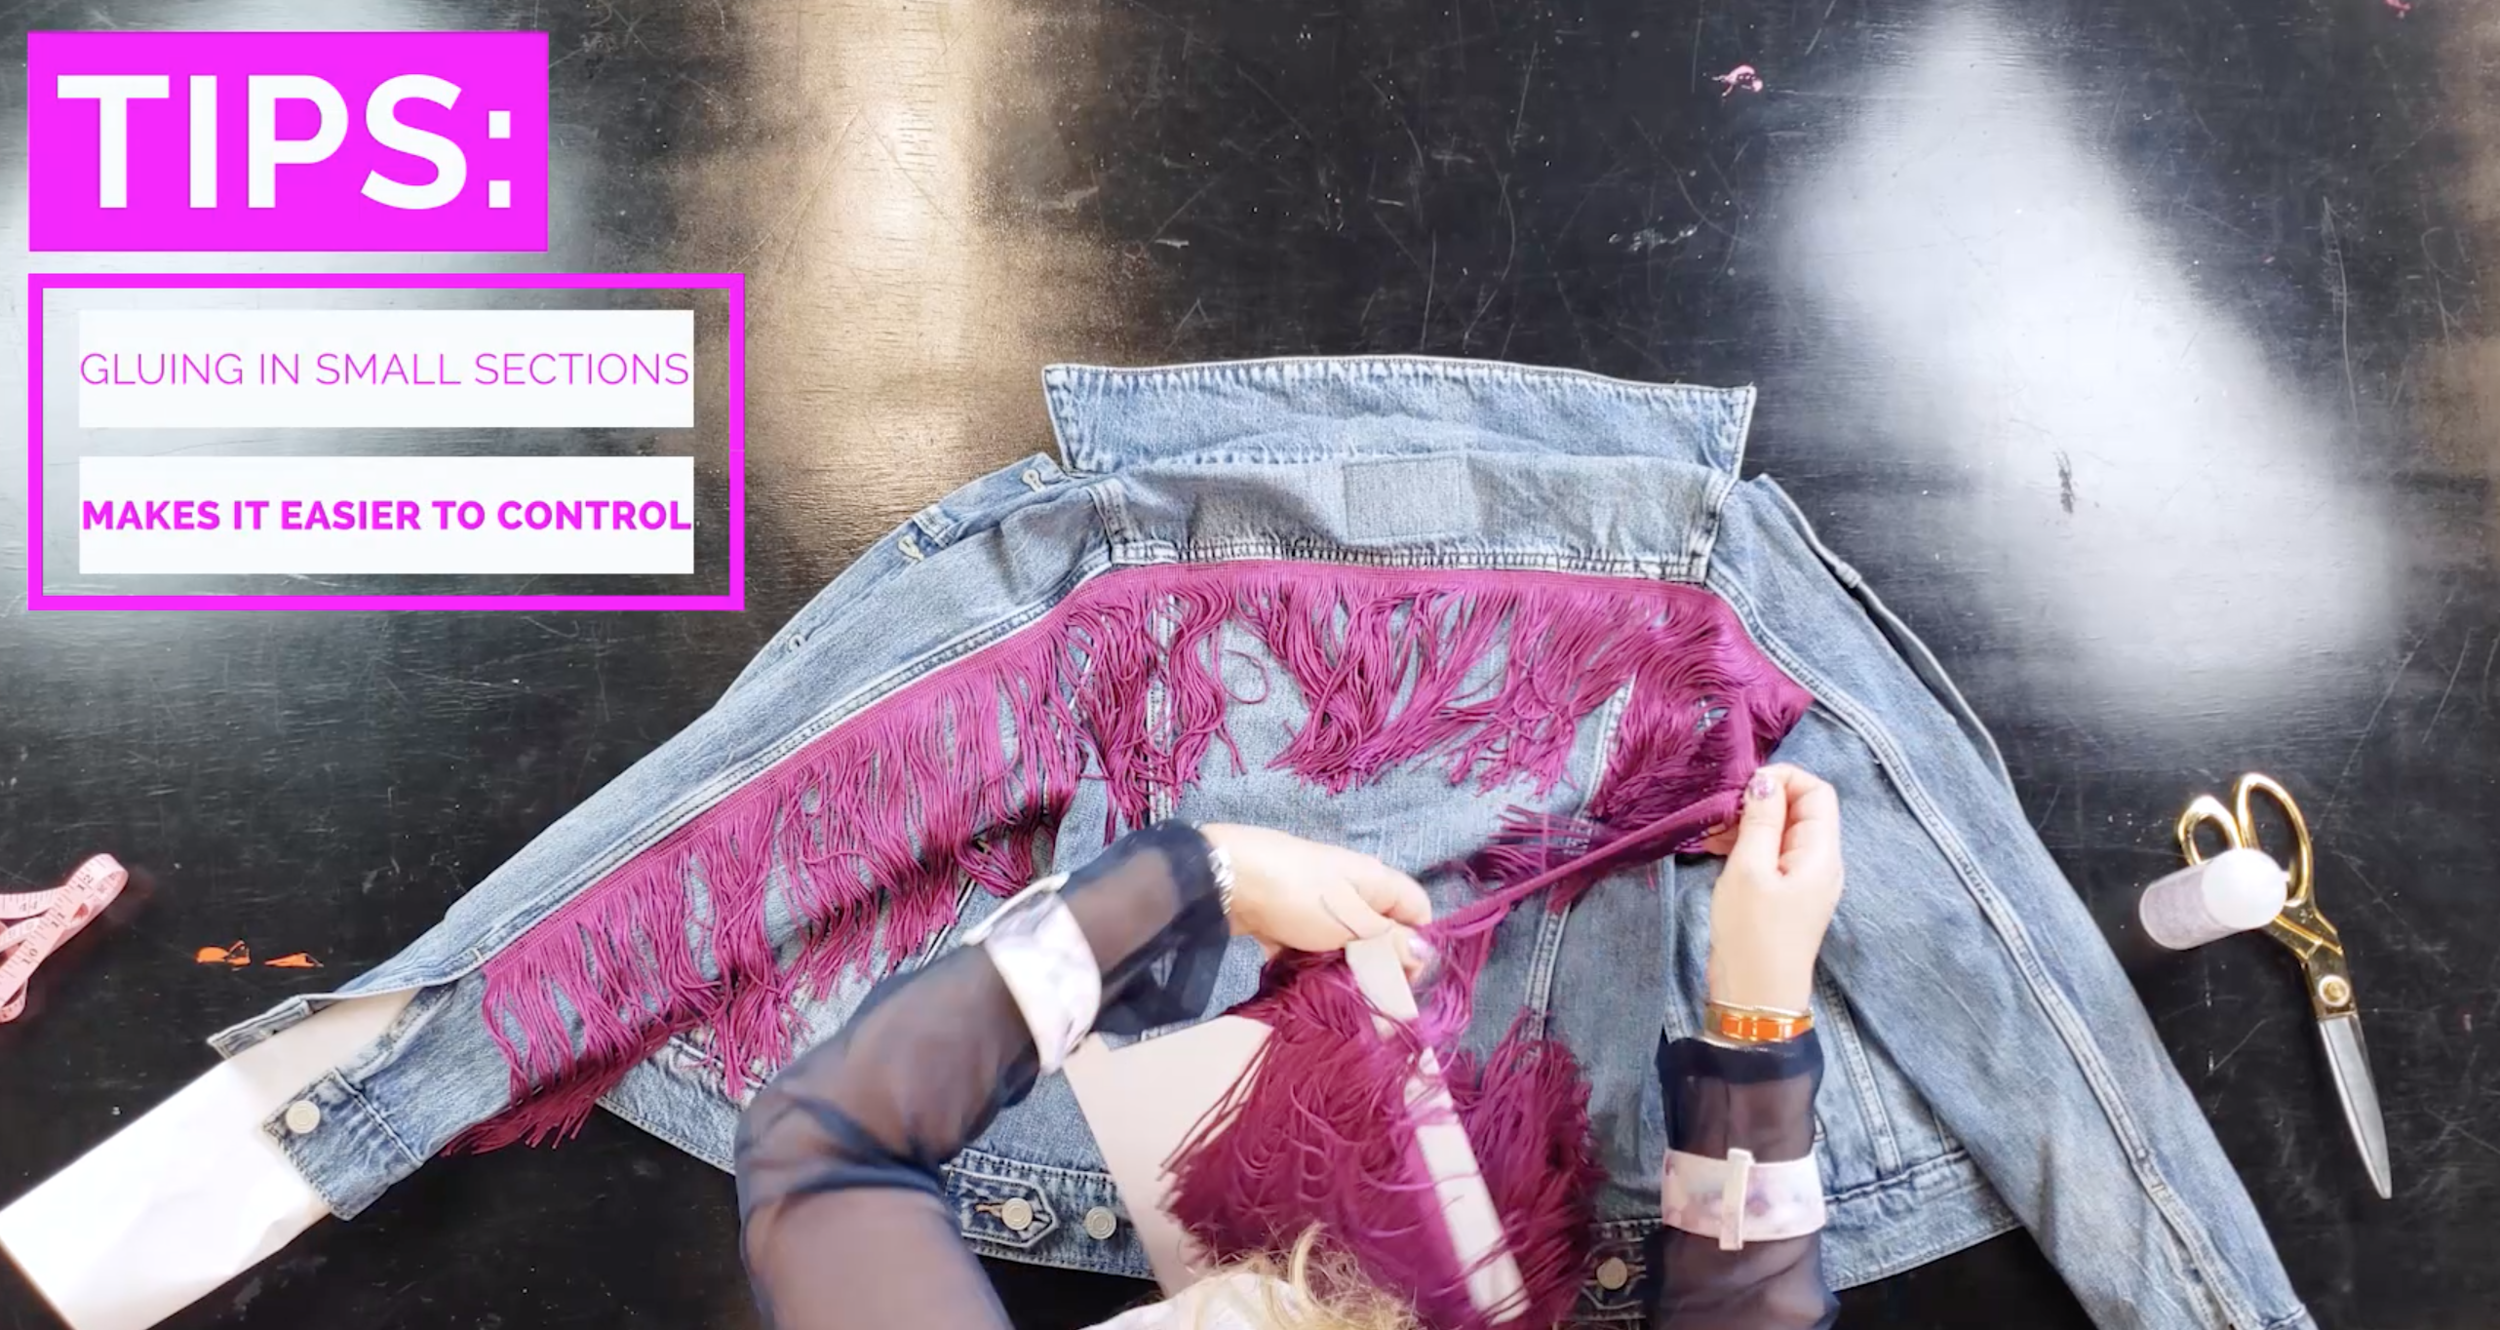
It’s best to work in the smaller sections so the glue doesn’t start to dry and your fringe comes off while you’re shaking it!
Keep going…

Make sure your fringe isn’t stuck to the glue. It needs to be free to swing! Also, make sure the top of your fringe that you’re gluing is laying nice and flat.


After 24 hours you are ready to rock! Swing your fringe to and fro and let everyone see your wild side!
What are you going to fringe?